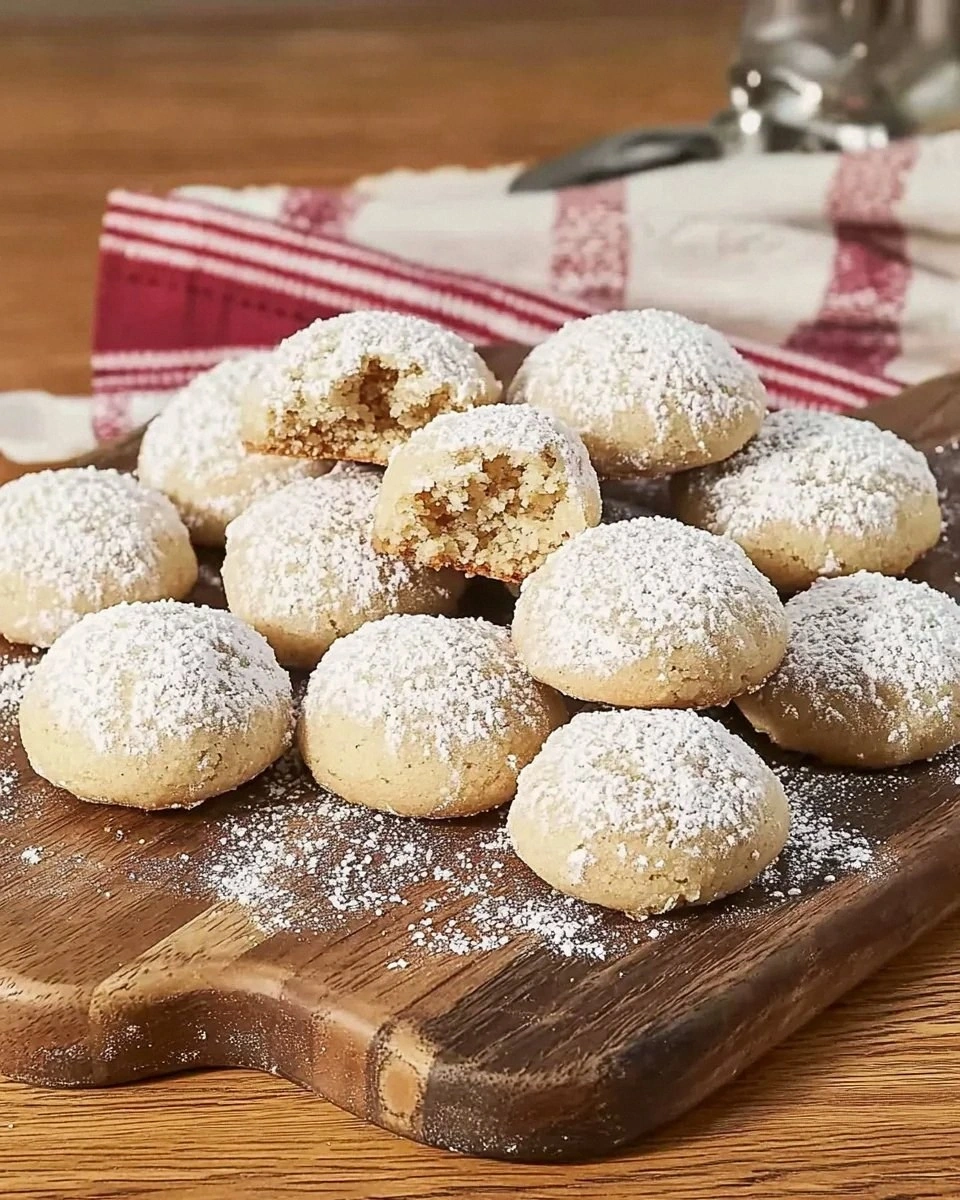
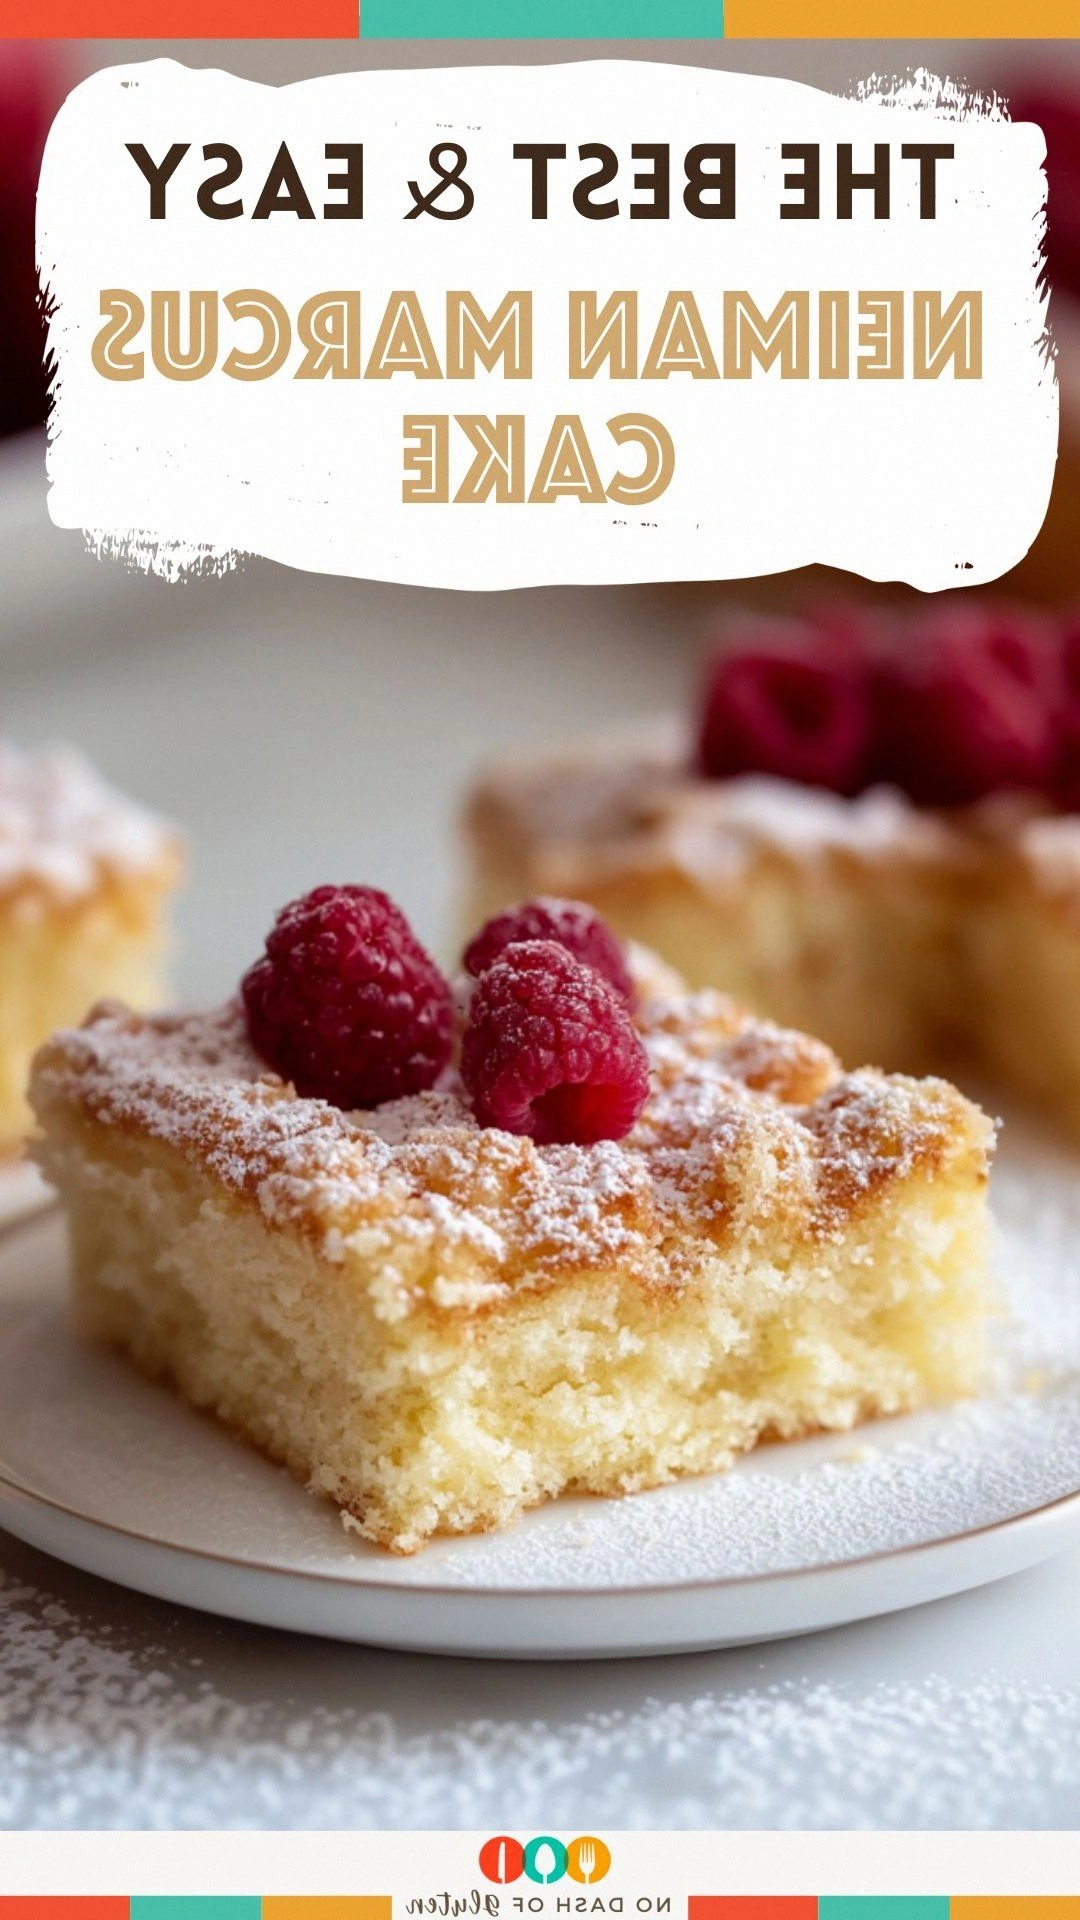
The first time I tried to recreate the legendary Neiman Marcus cake, I was halfway through the batter when the oven alarm blared—my oven had decided to do a dramatic exit. I stared at the steaming pan, feeling a mix of panic and excitement, and swore that this was going to be a turning point in my baking career. That night, as the cake cooled, the aroma of vanilla and chocolate swirled through the kitchen like a secret invitation, and I knew I had stumbled upon something extraordinary. I was determined to capture the exact texture—crisp edges that crackle like thin ice, a moist crumb that melts in your mouth, and a subtle chocolate undertone that lingers long after the last bite. Now, I'm here to share every trick, hack, and detail that will turn your ordinary baking routine into a show‑stopping performance.
Picture yourself pulling this masterpiece from the oven, the whole kitchen smelling like a warm, buttery dream, and your friends gasping in unison as they take their first bite. The moment the first slice slides out, you’ll notice the golden crust giving a satisfying crack before the soft, airy interior greets the palate. It’s that instant where your kitchen becomes a stage, and you’re the star baker performing a flawless act. I dare you to taste this and not go back for seconds—you’ll be surprised how the flavors keep dancing on your tongue. And if you’re skeptical, just wait until you see the way the cake holds its shape, resisting collapse even after a full day of storage.
What makes this recipe a legend isn’t just the flavor profile; it’s the meticulous balance of ingredients that work together like a well‑orchestrated symphony. The buttery richness is tempered by a delicate sweetness that never overwhelms, thanks to the precise ratio of butter to sugar. The cocoa powder adds depth without turning the cake into a dense brownie, and the optional brown sugar keeps the crumb tender and moist. I’ve spent months refining this version, testing countless variations, and the result is a cake that feels both indulgent and surprisingly light. By the end of this post, you’ll understand why this cake has become the go-to dessert for parties, holidays, and even everyday comfort food.
Before we dive into the step‑by‑step instructions, let me give you a sneak peek at a little secret that will elevate your cake to the next level: a touch of espresso powder. Adding just a teaspoon of espresso during the dry mix intensifies the chocolate flavor without making it taste like coffee. It’s a trick that many bakers overlook, but once you try it, you’ll wonder how you ever baked without it. This subtle enhancement brings out the chocolate’s richness, making every bite feel like a decadent chocolate mousse. Trust me, this is the kind of detail that turns a good cake into a legendary one.
What Makes This Version Stand Out
- Texture: The cake boasts a crisp, golden top that gives way to a pillowy, moist interior, creating a contrast that delights the senses. The careful balance of dry and wet ingredients ensures it never becomes dense or dry.
- Flavor: A subtle cocoa infusion, a hint of espresso, and a whisper of vanilla create a layered taste that lingers on the palate. The result is a cake that feels indulgent yet refined.
- Ease: Despite its gourmet credentials, the recipe requires only a few basic kitchen tools—no fancy mixers or specialty equipment needed. Anyone can achieve a professional result with minimal fuss.
- Versatility: The base can be transformed into chocolate, vanilla, or even fruit‑infused versions with simple swaps, making it a canvas for creativity.
- Crowd‑pleaser: Whether you’re baking for a family dinner or a large gathering, this cake scales beautifully, keeping everyone satisfied without compromising quality.
- Make‑ahead: The batter can be prepared up to 24 hours in advance, allowing you to focus on decoration or simply enjoy the anticipation.
- Ingredient Quality: Using high‑quality butter and fresh eggs elevates the flavor profile, turning a simple cake into a gourmet delight.
- Presentation: The cake’s elegant, subtle glaze or dusting of powdered sugar adds a touch of sophistication that impresses even the most discerning guests.
Alright, let’s break down exactly what goes into this masterpiece. The next section will guide you through each ingredient, explaining why each one is essential and what happens if you skip it.
Inside the Ingredient List
The Flavor Base
All‑Purpose Flour (2 cups): The foundation of the cake, providing structure and a tender crumb. Choosing a flour with a moderate protein content ensures the cake stays moist without becoming tough. If you use cake flour, the texture will be even lighter but may collapse if not measured carefully.
Granulated Sugar (1.5 cups): Sweetness is key, and the sugar also helps create that golden crust. Using a mix of white and brown sugar can add depth, but stick to the ratio for consistency. Skipping sugar will result in a bland, savory batter.
Unsalted Butter (1 cup, softened): The butter lends richness and a silky mouthfeel. Room‑temperature butter creamed with sugar traps air, leading to a lighter texture. If you use salted butter, reduce the added salt by half to avoid an overly salty cake.
The Texture Crew
Eggs (3 large): Eggs bind the batter, add structure, and contribute to the cake’s rise. The yolks provide richness, while the whites help with leavening. If you’re vegan, substitute with aquafaba or a commercial egg replacer, but the texture will differ slightly.
Milk (1 cup, whole or 2%): Milk hydrates the dry ingredients and adds moisture. Whole milk gives a richer flavor, while skim creates a lighter crumb. If you prefer dairy‑free, try oat or almond milk; just adjust the amount to keep the batter’s consistency.
Vanilla Extract (2 tsp): Vanilla is the flavor enhancer that ties all the ingredients together. A high‑quality extract brings depth, while imitation can taste artificial. If you’re in a hurry, vanilla powder works, but use a smaller amount.
The Unexpected Star
Cocoa Powder (0.5 cup): This gives the cake its chocolatey undertone without overwhelming the batter. Unsweetened cocoa keeps the sweetness balanced, while Dutch‑process cocoa offers a smoother flavor. If you omit cocoa, the cake becomes a vanilla‑butter classic, but the depth of flavor is lost.
Espresso Powder (1 tsp, optional): A dash of espresso amplifies the chocolate flavor, making it richer and more complex. It doesn’t add a coffee taste; it simply enhances the cocoa’s bitterness. If you’re allergic to caffeine, skip it—your cake will still be delicious.
The Final Flourish
Brown Sugar (0.5 cup): Adds moisture and a hint of caramel sweetness that keeps the crumb tender. Light brown sugar works best; dark brown sugar may make the cake too sweet and dense. If you prefer a pure sugar profile, replace with an equal amount of white sugar.
Baking Powder (2 tsp): The leavening agent that helps the cake rise and keeps it airy. Ensure it’s fresh—an old batch can lead to a flat cake. If you don’t have baking powder, you can combine 1 tsp baking soda with 2 tsp cream of tartar.
Salt (0.5 tsp): Balances the sweetness and enhances the overall flavor. Too little salt can leave the cake tasting flat; too much will overpower the delicate flavors. If you’re on a low‑sodium diet, reduce to 0.25 tsp, but taste as you go.
Everything's prepped? Good. Let’s get into the real action.
The Method — Step by Step
- Preheat the oven to 350°F (177°C). Grease a 9-inch round cake pan with butter and dust with flour, tapping out excess. The pan should be well coated to prevent sticking. While you do this, set a timer for 30 minutes to keep the process on track. Remember, a preheated oven is the foundation for a perfect rise.
- Whisk the dry ingredients together. In a medium bowl, combine the flour, cocoa powder, baking powder, and salt. This ensures the leavening agent is evenly distributed. Sprinkle the mixture over a sheet of parchment paper to keep it from clumping. Once mixed, set aside while you move on to the wet part.
- Cream butter and sugars. In a large mixing bowl, beat the softened butter with the granulated and brown sugars until the mixture is light, fluffy, and pale. This aeration traps air, leading to a lighter crumb. Use a stand mixer on medium speed for best results, but a hand mixer works fine too. Watch the color change; it should brighten as you mix.
- Incorporate the eggs. Add eggs one at a time, beating well after each addition. The first egg should be fully integrated before adding the next. This prevents curdling and ensures a smooth batter. If you’re using a vegan alternative, whisk the replacer until frothy before adding.
- Stir in vanilla and espresso. Pour the vanilla extract and espresso powder into the batter and mix until combined. The espresso will deepen the chocolate flavor without adding a coffee taste. This step is crucial for that rich, velvety finish.
- Alternate dry and wet. Pour half of the dry mix into the batter, then half of the milk. Stir gently until just combined, then repeat with the remaining dry mix and milk. This technique keeps the batter from becoming over‑mixed and maintains a tender crumb. Avoid over‑stirring; a few lumps are fine.
- Fill the pan and smooth the top. Spoon the batter into the prepared pan, tapping the pan gently on the counter to release air bubbles. Smooth the top with a spatula for even baking. The batter should fill the pan to about 3/4 full. This level ensures the cake rises evenly.
- Bake the cake. Place the pan in the preheated oven and bake for 30 minutes, or until the top is firm and a toothpick inserted in the center comes out clean. The cake should emit a sweet, buttery aroma. Keep an eye on the color; it should be a deep golden brown.
- Cool before removing. Let the cake cool in the pan for 10 minutes, then turn it onto a wire rack to cool completely. This step prevents the cake from sticking to the pan and maintains its structure. While it cools, you can prepare a simple glaze or dust it with powdered sugar.
- Apply the finishing touch. Drizzle a thin glaze of melted chocolate or a dusting of powdered sugar over the cooled cake. The glaze adds shine, while the sugar offers a subtle sweetness. If you want an extra indulgent layer, spread a thin layer of chocolate ganache between the cake layers before frosting.
That's it — you did it. But hold on, I've got a few more tricks that'll take this to another level. The next section will reveal insider tips that even seasoned bakers swear by.
Insider Tricks for Flawless Results
The Temperature Rule Nobody Follows
Preheat the oven thoroughly. Many bakers underestimate the importance of a fully heated oven, which can lead to uneven rise. Use an oven thermometer to confirm the temperature; it should read 350°F (177°C) before you start. If your oven runs hot, set it 25°F lower to avoid burning the edges. This simple adjustment ensures a uniform bake.
Why Your Nose Knows Best
Trust the aroma. The cake will emit a warm, buttery scent when it’s close to done. If you’re unsure, insert a toothpick; a few moist crumbs are fine. The smell is often a more reliable indicator than the timer, especially in ovens that run hot or cold.
The 5‑Minute Rest That Changes Everything
Let the batter rest before baking. After mixing the batter, cover the bowl with plastic wrap and let it sit for 5 minutes. This rest allows the flour to hydrate fully and the gluten to relax, resulting in a softer crumb. It also helps the cocoa integrate better, enhancing the chocolate flavor.
Avoiding the Common Crumb Pitfall
Don’t over‑mix. Once you add the dry ingredients, mix just until combined. Over‑mixing develops gluten, which can make the cake tough. If the batter appears slightly lumpy, that’s fine; the heat will smooth it out during baking.
The Secret to a Glowing Crust
Brush the top with a light egg wash. Beat an egg with a tablespoon of water and lightly brush it over the batter before baking. This creates a shiny, slightly crisp crust that’s visually appealing. It also seals in moisture, keeping the cake tender inside.
Storing for Longevity
Wrap tightly after cooling. Once the cake has cooled completely, wrap it in parchment paper and then plastic wrap. This prevents the cake from absorbing odors in the fridge. For longer storage, place the wrapped cake in an airtight container.
Now you’re armed with the knowledge to bake a cake that looks as good as it tastes. Let’s explore how you can customize this classic recipe to suit your mood or the occasion.
Creative Twists and Variations
This recipe is a playground. Here are some of my favorite ways to switch things up:
Salted Caramel Swirl
Add a swirl of salted caramel sauce to the batter before baking. The caramel adds a sweet‑salty contrast that pairs beautifully with the chocolate base. Serve with a scoop of vanilla ice cream for a decadent dessert.
Citrus Burst
Replace the vanilla with orange zest and add a tablespoon of fresh lemon juice. The citrus brightens the flavor profile, giving the cake a refreshing lift. Pair with a light whipped cream for a balanced taste.
Nutty Crunch
Fold in chopped toasted pecans or walnuts into the batter before baking. The nuts provide a delightful crunch and a nutty aroma. A drizzle of honey after baking enhances the nutty sweetness.
Espresso‑Infused Ganache
Prepare a ganache with dark chocolate and espresso. Layer this between two cake layers for an extra chocolatey depth. The ganache adds a silky texture that melts in your mouth.
Almond Joy Variation
Add shredded coconut and almond butter to the batter. Finish with a topping of toasted coconut and a dusting of cocoa powder. This version brings a tropical twist that’s perfect for summer gatherings.
Malted Milk Delight
Replace half of the milk with malted milk powder. The malt adds a subtle caramel flavor and a smooth, velvety texture. It’s an excellent way to elevate a classic cake into something truly memorable.
Feel free to mix and match these ideas, and don’t be afraid to experiment. The beauty of this recipe is its adaptability, allowing you to create a cake that fits any theme or taste preference.
Storing and Bringing It Back to Life
Fridge Storage
Keep it wrapped. After cooling, wrap the cake tightly in parchment and plastic wrap, then place it in an airtight container. Store in the refrigerator for up to 5 days. The cake will stay moist and flavorful, thanks to the protective wrapping.
Freezer Friendly
Freeze in portions. Slice the cake and wrap each slice individually in plastic wrap, then place them in a freezer bag. Freeze for up to 3 months. When ready to serve, thaw at room temperature for 30 minutes before reheating.
Best Reheating Method
Warm it gently. Preheat your oven to 300°F (149°C). Place the cake slice on a baking sheet and bake for 5-7 minutes, or until warm. Add a splash of milk or cream before reheating to keep the crumb tender. A quick microwave reheating of 15 seconds also works for a single slice.
With these storage tips, your cake can be enjoyed anytime, and it’ll still taste as if it just came out of the oven. Now, let’s bring everything together in the recipe card below.