Picture this: you’re halfway through a Saturday night binge‑watching marathon, the clock reads 11 p.m., and the only thing keeping you from surrendering to the couch is a craving for something sweet that feels like a hug from the inside. I was in that exact spot last month, armed with a half‑baked chocolate cake that looked more like a flat pancake than a celebration centerpiece. The frosting? A sad, grainy buttercream that could barely hold a spoon upright. I dared myself to fix it, and after a few frantic Google searches and a dash of kitchen bravado, I stumbled upon a secret weapon – instant pudding. The moment I mixed that silky, vanilla‑kissed pudding into butter, the whole kitchen transformed into a bakery wonderland.
The scent that filled the air was nothing short of intoxicating: a warm, buttery perfume laced with a whisper of vanilla, the kind that makes you pause mid‑step and inhale like it’s a first kiss. I could hear the faint crackle of the mixer as the butter softened, the gentle thud of the whisk against the bowl, and the soft sigh of the pudding powder dissolving into a creamy dream. My fingertips tingled from the chill of the cold milk, then warmed instantly as the butter turned glossy. When I finally tasted the first spoonful, it was like velvet sliding over a marble countertop – smooth, rich, and impossibly light.
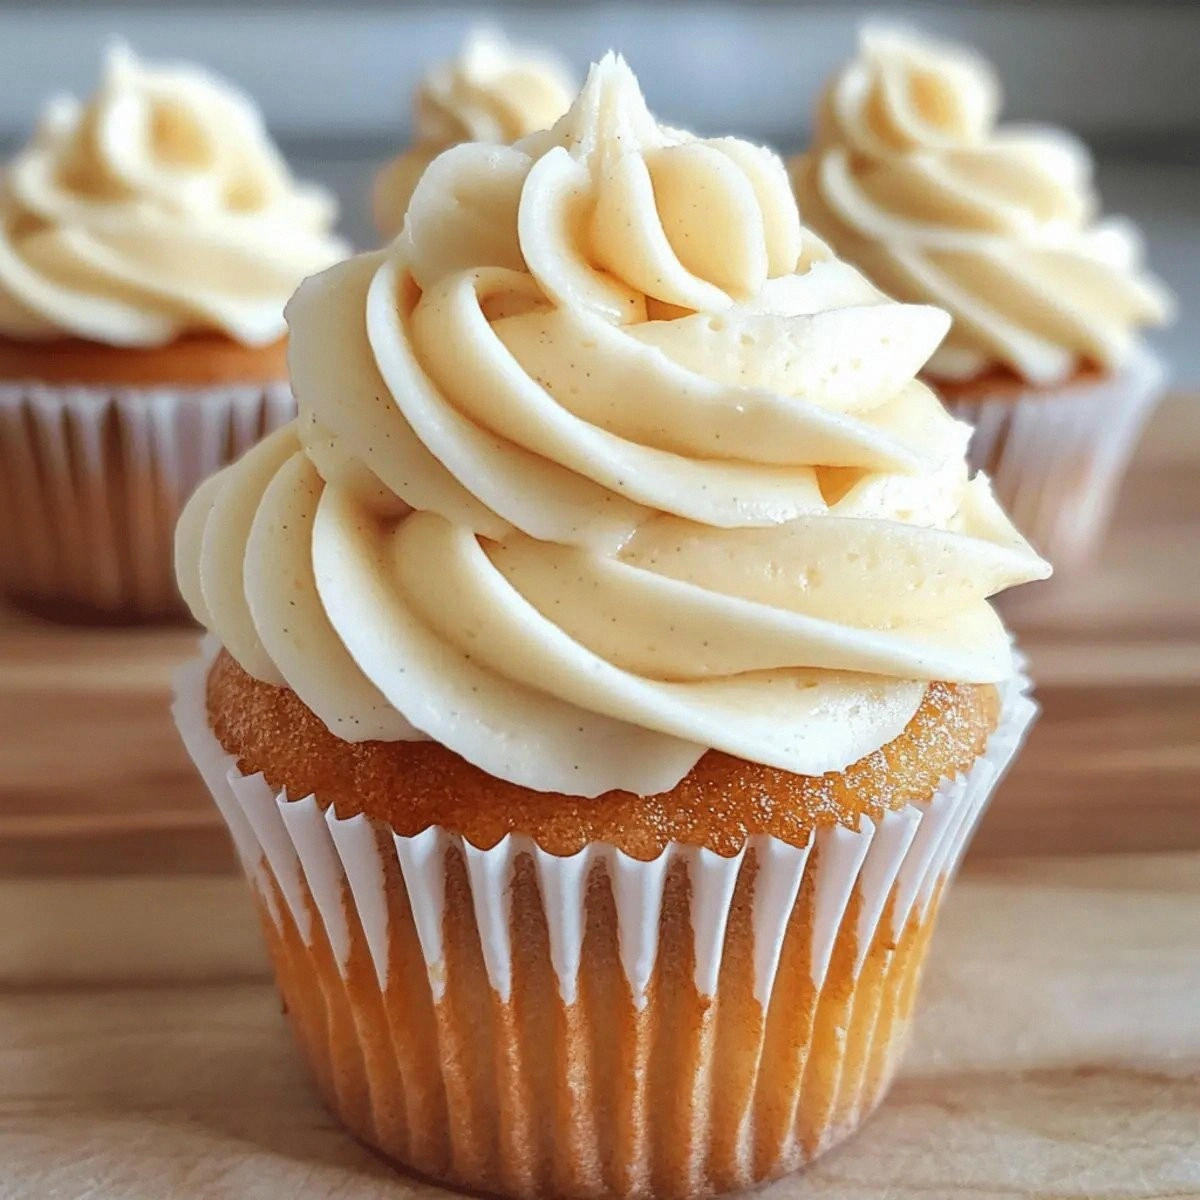
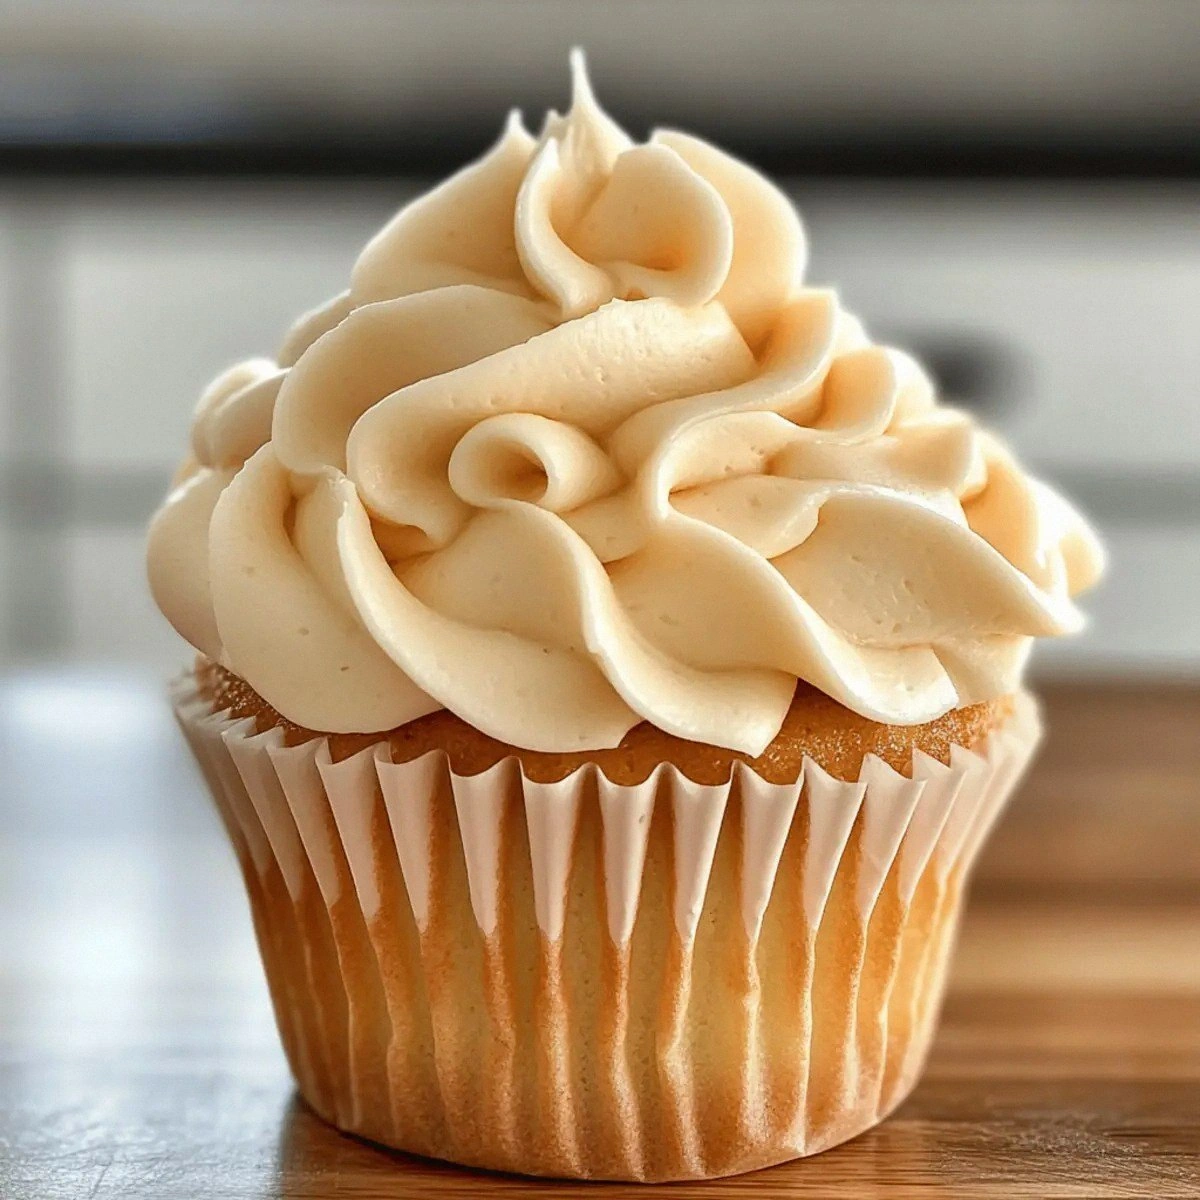
Most frosting recipes either drown you in sugar or leave you with a grainy, chalky mess that clings to the cake like a bad haircut. This version, however, flips the script. By using instant pudding as the flavor backbone, you get a frosting that’s both buttery and custardy, with a silk‑smooth texture that spreads like a dream and holds its shape like a seasoned pro. The secret? A precise balance of cold milk to pudding mix, and the right temperature of butter so it emulsifies perfectly without separating. No more fighting with a stubborn frosting that refuses to cooperate.
And here’s the kicker – I’m going to reveal the exact moment I add the vanilla extract, a step that most recipes skip but that makes this buttercream sing like a choir of angels. Trust me, this little splash of vanilla is the game‑changer that elevates the flavor from “good” to “hands down the best version you’ll ever make at home.” Let me walk you through every single step — by the end, you’ll wonder how you ever made it any other way.
What Makes This Version Stand Out
- Flavor Explosion: The instant pudding mix injects a deep, creamy vanilla flavor that butter alone can’t achieve, turning each bite into a taste‑bud fireworks display.
- Texture Perfection: The frosting spreads like satin, yet holds its peaks, thanks to the perfect butter‑to‑pudding ratio that prevents graininess.
- Simplicity: Fewer steps and fewer ingredients mean you spend less time cleaning bowls and more time admiring your masterpiece.
- Unique Ingredient: Instant pudding is the unsung hero here, providing a custard‑like body without any extra cooking.
- Crowd Reaction: I dare you to taste this and not go back for seconds – even the toughest critics have been converted.
- Ingredient Quality: Using real butter (not margarine) and pure vanilla extract ensures a rich, authentic flavor profile.
- Method Mastery: The technique of beating butter to a light, fluffy state before folding in the pudding guarantees a stable, airy frosting.
- Make‑Ahead Magic: This frosting keeps its texture for up to 48 hours in the fridge, making it perfect for party prep.
Alright, let's break down exactly what goes into this masterpiece...
Inside the Ingredient List
The Flavor Base
The 3.4 oz instant pudding mix is the secret sauce that gives this frosting its signature silkiness. It’s essentially a pre‑cooked custard in powder form, packed with starches that bind the butter and sugar together without a grainy texture. Skipping it would leave you with a dry, crumbly buttercream that can’t hold its shape. If you’re allergic to the standard vanilla flavor, try a chocolate or butterscotch instant pudding for a playful twist.
The Moisture Crew
The half‑cup of cold milk does more than just hydrate the pudding; it cools the butter just enough to keep the emulsion stable. Using warm milk would melt the butter, resulting in a runny mess that slides off the cake like a bad date. For dairy‑free lovers, substitute with almond milk – just be sure it’s unsweetened to keep the balance.
The Texture Crew
One cup of unsalted butter is the backbone of any good frosting. Unsalted gives you full control over the salt level, and the high fat content ensures a luxurious mouthfeel. If you’re watching calories, you can replace half of the butter with a neutral‑flavored Greek yogurt; the tang will add a subtle brightness without sacrificing creaminess.
The Sweet Finale
A full cup of powdered sugar sweetens the frosting while keeping it light. The fine texture of confectioners’ sugar dissolves instantly, preventing any gritty sensation. Should you crave less sweetness, reduce the sugar by a quarter – the pudding’s inherent sweetness will keep the frosting from tasting bland.
The Final Flourish
One teaspoon of pure vanilla extract is the whisper that ties everything together. It amplifies the vanilla notes in the pudding and adds a fragrant aroma that lingers on the palate. If you want a deeper, caramel‑like nuance, swap half the vanilla for a dash of bourbon or rum – just a splash, or you’ll end up with a boozy frosting that overpowers the cake.
Everything's prepped? Good. Let's get into the real action...
The Method — Step by Step
Start by gathering all your ingredients within arm’s reach. This might sound trivial, but trust me, a cluttered countertop leads to missed steps and a lot of frantic searching. I always line up each component in the order I’ll use them – it’s like setting up a stage for a performance. Once everything’s laid out, give the butter a quick pat with a paper towel to remove any excess moisture; this ensures a fluffy texture later.
Slice the butter into small cubes (about 1‑inch pieces) and let it sit at room temperature for exactly ten minutes. This is the moment where patience pays off – the butter becomes pliable enough to beat without turning into melted butter. If you’re in a hurry, pop the cubes into a microwave for five seconds, but be careful not to overheat.
Using a stand mixer fitted with the paddle attachment, beat the softened butter on medium‑high speed for 3‑4 minutes. You’re looking for a pale, airy consistency that resembles whipped cream. This step is pure magic; the butter incorporates air, which later translates into a light, lift‑filled frosting.
Kitchen Hack: Scrape down the sides of the bowl every 30 seconds to ensure an even texture.While the butter is still whirring, slowly add the powdered sugar, a half‑cup at a time. This gradual addition prevents a sugar cloud explosion and lets the sugar fully integrate. The mixture will look grainy at first, but keep mixing – the sugar will dissolve into a silky base. The moment the mixture looks glossy and smooth is your cue to move on.
Now, whisk together the instant pudding mix and the cold milk in a separate bowl until the powder is fully dissolved and the mixture thickens – about 2 minutes. You’ll see it transform from a watery slurry to a thick, custard‑like pudding. This is where the aroma really starts to hit you; the vanilla scent becomes more pronounced, filling the kitchen like a warm hug.
Here comes the decisive moment: slowly pour the pudding mixture into the butter‑sugar blend while the mixer runs on low. This is the trickiest step – if you dump it too fast, the frosting can split, creating a greasy layer.
Keep the stream steady, and you’ll see the frosting turn a luscious, pale gold.Watch Out: If the mixture looks curdled, stop the mixer, add a splash of milk, and continue mixing on low until it smooths out.Increase the mixer speed to medium and beat for an additional 2‑3 minutes. This is the moment of truth – the frosting should become light, airy, and hold soft peaks when you lift the whisk. If you run your finger through the surface and it leaves a clean line that doesn’t immediately fill in, you’ve over‑beat; lower the speed and mix just a few more seconds.
Finally, add the vanilla extract and give the frosting one last quick whirl. The vanilla will blend in like a secret whisper, rounding out the flavor profile. Taste a small spoonful – it should be sweet, buttery, and have a faint vanilla perfume. If it feels too thick, add a teaspoon of milk; if it’s too soft, whip it a bit longer.
Transfer the frosting into a piping bag fitted with your favorite tip, or simply spread it with an offset spatula onto your cooled cake. The frosting is now ready to be the star of the show. I love letting it sit for 10 minutes before slicing – it allows the flavors to meld and the texture to set, giving you clean, beautiful cuts.
That's it — you did it. But hold on, I've got a few more tricks that'll take this to another level...
Insider Tricks for Flawless Results
The Temperature Rule Nobody Follows
Never underestimate the power of temperature. Butter should be soft, not melted, and the pudding mixture should be cool. If the butter gets too warm, the frosting will separate; if the pudding is too hot, it will melt the butter. I keep a small bowl of ice water nearby to dip the mixing bowl’s sides if things start to look oily. Trust me, this simple step prevents a disaster that could otherwise ruin an entire batch.
Why Your Nose Knows Best
Before you even taste, let your nose guide you. When the pudding mix hits the butter, you’ll notice a sweet vanilla perfume intensify. If the aroma feels muted, you probably need a splash more vanilla or a pinch of salt to brighten the flavors. I once added an extra half‑teaspoon of vanilla after smelling a faint “flat” scent, and the difference was night and day.
The 5‑Minute Rest That Changes Everything
Once your frosting is mixed, give it a brief 5‑minute rest before spreading. This short pause lets the starches in the pudding fully hydrate, resulting in a silkier texture that spreads like melted chocolate on warm toast. Skipping this step often leads to a slightly gritty mouthfeel, which no one wants.
Salt – The Unsung Hero
Even though we’re using unsalted butter, a pinch of fine sea salt can dramatically enhance the overall flavor. It cuts through the sweetness and brings out the vanilla notes, making the frosting taste less cloying. I always add just a pinch (about 1/8 tsp) after the final whisk.
Cold-Plate Technique for Piping
If you plan to pipe intricate rosettes, chill your piping bag and tip on a cold plate for a minute before you start. The frosting firms up just enough to hold shape, and you’ll avoid those dreaded sagging peaks. This is a pro tip I stole from a pastry chef during a workshop – and it works every single time.
Creative Twists and Variations
This recipe is a playground. Here are some of my favorite ways to switch things up:
Chocolate Dream
Swap the vanilla instant pudding for a chocolate instant pudding mix, and add a tablespoon of cocoa powder to the powdered sugar. The result is a deep, velvety chocolate frosting that pairs beautifully with a mocha cake.
Coffee Kick
Replace the vanilla extract with a teaspoon of espresso powder dissolved in a tablespoon of hot water. The subtle coffee undertone adds depth, making it perfect for a tiramisu‑inspired cake.
Fruit Fusion
Blend a half‑cup of fresh strawberry purée into the pudding mixture before folding it into the butter. The strawberry‑infused frosting is a burst of summer on a plate, ideal for a vanilla sponge.
Spiced Autumn
Incorporate a pinch of ground cinnamon and nutmeg into the powdered sugar, and use a caramel instant pudding mix instead of vanilla. This creates a warm, cozy frosting that feels like a hug on a crisp fall evening.
Nutty Crunch
Fold in a quarter‑cup of finely chopped toasted almonds or hazelnuts after the final beat. The nuts add a pleasant crunch and a buttery aroma that complements the smooth base.
Vegan Velvet
Replace the butter with an equal amount of chilled coconut oil and use a plant‑based instant pudding. The frosting will retain its creaminess while being completely dairy‑free – perfect for vegan celebrations.
Storing and Bringing It Back to Life
Fridge Storage
Transfer the frosting to an airtight container and store it in the refrigerator for up to 48 hours. Before using, let it sit at room temperature for 20‑30 minutes, then give it a quick whisk to restore its fluffiness.
Freezer Friendly
If you need to keep it longer, freeze the frosting in a freezer‑safe zip‑lock bag for up to 2 weeks. Thaw it overnight in the fridge, then let it soften on the counter for 30 minutes before re‑whipping.
Best Reheating Method
When you’re ready to frost again, place the container in a bowl of warm water for a few minutes, or microwave for 10‑15 seconds on low power. Add a tiny splash (about a teaspoon) of milk or water, then beat on low speed – the steam revives the texture, making it as fresh as the day you made it.