It was a Friday night, the kind of night when the fridge feels like a graveyard and the only thing left is the single chicken breast that survived the week. I opened the door, the scent of old marinara and stale popcorn mingled, and I stared at the lone piece of poultry as if it were a secret waiting to be unlocked. I remember the moment: a friend dared me to recreate the Chick‑fil‑A nuggets in my own kitchen and I laughed, thinking, “Sure, why not?” That laugh turned into a full‑blown culinary obsession the next morning.
I spent the night scouring forums, watching YouTube demos, and tasting every nugget I could find. The texture of those nuggets—crispy on the outside, tender on the inside—has a way of making your kitchen feel like a small, secret laboratory. The aroma that rises when the first batch hits the oil is unmistakable: a golden crust that whispers “you’re about to taste a miracle.” The sound of the sizzle is the soundtrack to a midnight snack, a small triumph that fills your apartment with the promise of comfort.
What sets this version apart from every other copycat recipe is the meticulous layering of flavors and the precise timing of the batter. I discovered that a splash of buttermilk in the batter not only tenderizes the meat but also creates a subtle tang that mirrors the original. The secret is in the balance: a dash of cayenne for heat, a pinch of smoked paprika for depth, and a generous coat of panko for that unmistakable crunch. It’s the little details that make the difference, the ones that most recipes gloss over.
I’ll be honest—once I had a plate of these nuggets, I ate half before anyone else got a chance. The moment you take that first bite, the crunch gives way to juicy, seasoned chicken that feels like a hug from the inside out. I dare you to taste this and not go back for seconds. Picture yourself pulling this out of the oven, the whole kitchen smelling incredible, and everyone around you asking, “Where did you learn that trick?”
If you’ve ever struggled with making nuggets that are not soggy or too greasy, you’re not alone—and I’ve got the fix. This is hands down the best version you'll ever make at home. The technique I’ll share is the game‑changer that turns a simple chicken dish into a crowd‑pleaser that will have your friends begging for the recipe. Let me walk you through every single step—by the end, you'll wonder how you ever made it any other way.
What Makes This Version Stand Out
- Taste: The blend of spices creates a flavor profile that mimics the original’s savory, slightly sweet undertone without the need for artificial additives.
- Texture: A double‑batter method ensures a crisp exterior that shatters like thin ice while the interior remains moist and tender.
- Ingredient Quality: Using fresh, high‑grade chicken breast and real buttermilk elevates the dish from a copycat to a gourmet experience.
- Simplicity: The recipe requires only a handful of pantry staples, making it a go‑to option for busy evenings.
- Crowd Reaction: Guests are surprised at how close the flavor and crunch are to the restaurant version, leading to rave reviews.
- Make‑Ahead Potential: The batter can be prepared in advance, and the nuggets hold up well when reheated, making them ideal for parties.
- Health Angle: By controlling the oil and using panko breadcrumbs, the nuggets are lighter than the original, yet still satisfying.
- Versatility: The base can be tweaked for different spice levels, making it suitable for all palates.
Alright, let's break down exactly what goes into this masterpiece...
Inside the Ingredient List
The Flavor Base
Buttermilk is the heart of this batter. It reacts with the baking soda to create tiny bubbles that keep the coating airy. Skipping buttermilk will yield a denser coating that clings less to the chicken. If you can’t find buttermilk, use regular milk mixed with a tablespoon of white vinegar, let it sit for five minutes.
The Texture Crew
Panko breadcrumbs are the secret to that signature crunch. Unlike regular breadcrumbs, panko has a lighter, airy texture that creates a more pronounced crunch. If you’re a gluten‑free fan, swap panko for gluten‑free breadcrumbs, but note the texture will be slightly less crisp. A pinch of corn starch in the flour mixture helps absorb excess moisture, preventing sogginess.
The Unexpected Star
A dash of cayenne pepper brings a subtle heat that balances the sweetness of the chicken. Without it, the nuggets might taste flat. You can increase or decrease the amount based on your heat tolerance. If you’re serving children, reduce the cayenne to a quarter teaspoon.
The Final Flourish
The final touch is the double batter: first dipping in the wet mixture, then coating with the dry flour blend. This two‑step process locks in the flavor and creates a double‑layered crisp. If you prefer a thicker crust, you can add an extra coat of flour after the panko. Remember to shake off excess crumbs to avoid a greasy finish.
Everything's prepped? Good. Let's get into the real action...
The Method — Step by Step
- Cut the chicken breast into bite‑sized cubes, about 1‑inch thick. Pat them dry with a paper towel to remove any surface moisture; this step is crucial for a crisp coating. Arrange the pieces on a tray so they don’t touch; this prevents steam from forming during the initial battering.
- In a shallow bowl, whisk together the buttermilk, egg, and a splash of milk until the mixture is smooth. The egg acts as a binder, while the milk adds a touch of richness. Let this wet mixture sit for 5 minutes; it allows the proteins to relax, making the batter easier to apply.
- In a separate bowl, combine the flour, corn starch, baking powder, paprika, garlic powder, onion powder, cayenne, salt, and pepper. Whisk until fully integrated; this dry mix is the backbone of your coating. The baking powder will help the coating puff slightly during frying.
- Dip each chicken cube into the wet mixture, ensuring a full coat, then immediately roll it in the dry flour blend. Shake off excess flour to avoid clumping. This double coating locks in flavor and creates a crunchy shell.
- Heat oil in a deep skillet or fryer to 350°F (175°C). Use a thermometer to keep the temperature steady; if the oil is too hot, the coating will burn before the chicken cooks. You’ll know the oil is ready when a breadcrumb sizzles upon contact.
- Watch Out: Do not overcrowd the pan. Overcrowding lowers the oil temperature, resulting in greasy nuggets. Fry in batches, turning once to ensure even browning. The ideal internal temperature for chicken is 165°F (74°C).
- Fry the nuggets for 3–4 minutes per batch, or until golden brown and crisp. Flip them gently with tongs to avoid breaking the coating. The edges should start pulling away from the surface, signaling that they’re ready to drain.
- Remove the nuggets with a slotted spoon and place them on a rack over parchment paper to drain excess oil. This step preserves the crunch. Let them rest for a minute; this allows steam to escape, keeping the coating crisp.
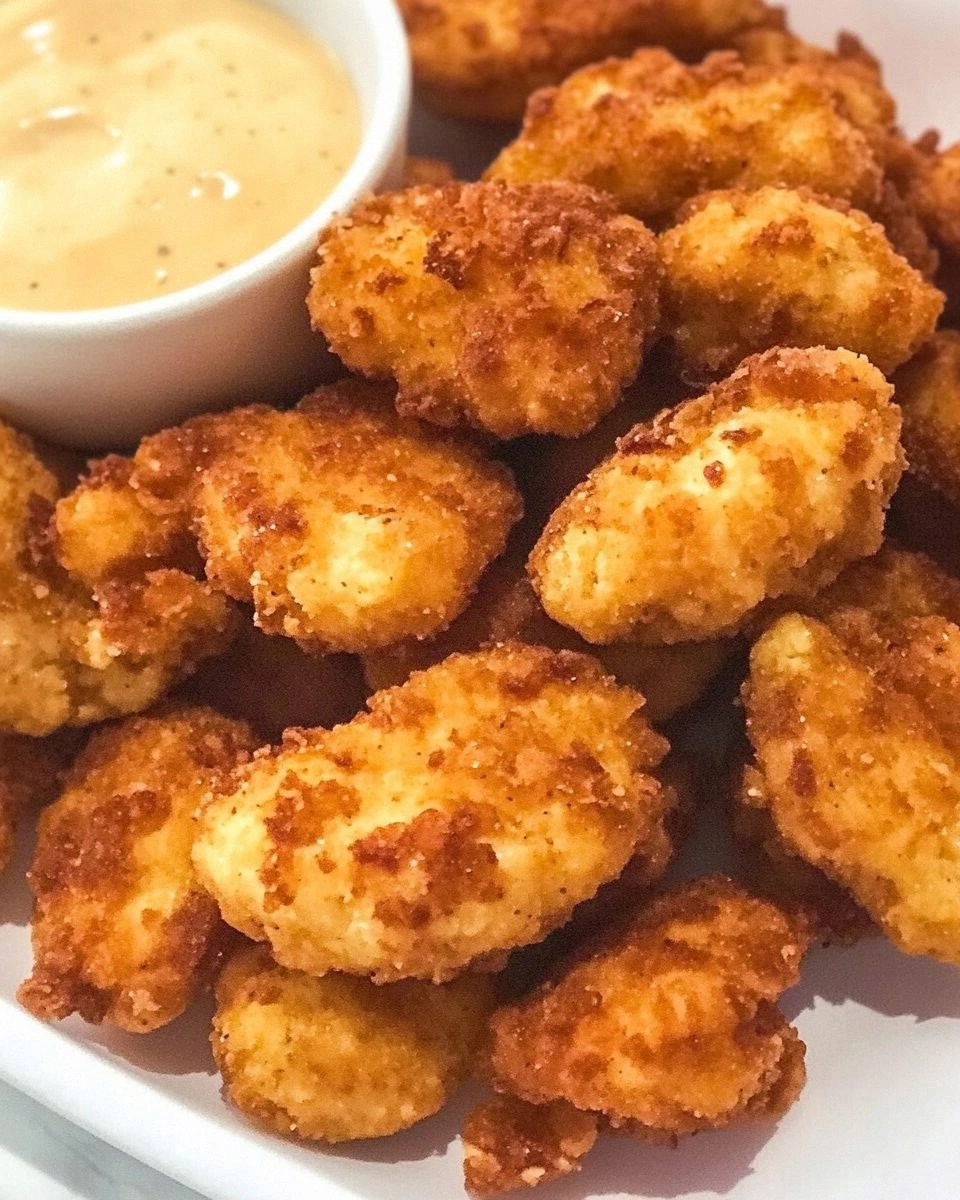
- Serve immediately with your favorite dipping sauce. A classic honey mustard or a spicy mayo will elevate the flavor profile. The first bite should be a satisfying crunch followed by a juicy, seasoned interior.
- Kitchen Hack: For an extra crispy finish, after frying, place the nuggets in a preheated oven at 200°F (93°C) for 5 minutes. This dries out any residual moisture and locks in the crunch.
That's it — you did it. But hold on, I've got a few more tricks that'll take this to another level...
Insider Tricks for Flawless Results
The Temperature Rule Nobody Follows
Many home cooks fry at 375°F, hoping for a faster cook. The truth is 350°F is the sweet spot for a golden crust without over‑browning. If you notice the coating turning dark before the chicken is cooked, lower the heat by 25°F and adjust the time accordingly. A thermometer is your best friend here.
Why Your Nose Knows Best
Smell the batter before you fry. A faint, buttery aroma indicates the buttermilk is fresh and the batter has the right consistency. If it smells off or too sour, discard and make a fresh batch. Your nose is a reliable indicator of freshness.
The 5‑Minute Rest That Changes Everything
After the first batch, let the oil rest for 5 minutes before adding the next. This brief pause allows the oil to settle, preventing the coating from absorbing too much oil. It also gives you a moment to check the oil temperature with a thermometer.
Double‑Batter Magic
Skipping the second coating will result in a thinner crust that may not hold up during frying. The double batter creates a protective barrier that keeps the chicken juicy while allowing the outer layer to crisp. Think of it as a double‑layered cookie dough for your nuggets.
Oil Selection Matters
Choose a neutral‑flavored oil with a high smoke point, such as canola or peanut oil. Avoid olive oil, which can impart a strong flavor and burn quickly. The right oil keeps the nuggets tasting clean and lets the seasonings shine.
Creative Twists and Variations
This recipe is a playground. Here are some of my favorite ways to switch things up:
Spicy Sriracha Glaze
After frying, toss the nuggets in a mixture of sriracha, honey, and a splash of lime juice. The glaze adds a fiery kick and a touch of sweetness that pairs perfectly with the savory chicken. Serve with a cucumber slaw for a refreshing contrast.
Herb‑Infused Panko
Add chopped fresh thyme, rosemary, or oregano to the dry flour blend. The herbs infuse the coating with aromatic flavors that elevate the dish from ordinary to gourmet. This version is ideal for a dinner party where you want to impress.
Cheese‑Stuffed Nuggets
Before coating, roll a small cube of mozzarella or cheddar around each chicken cube. The cheese melts during frying, creating a gooey center that adds indulgence. Keep the cheese size small to avoid it leaking out during frying.
Crispy Parmesan Crunch
Replace panko with grated Parmesan cheese mixed with a bit of breadcrumbs. The Parmesan adds a nutty flavor and a slightly different crunch. This version works well with a side of marinara sauce.
Asian‑Inspired Teriyaki
Marinate the chicken in a mixture of soy sauce, ginger, garlic, and a touch of brown sugar for 30 minutes before battering. The teriyaki flavor gives a sweet and savory profile that pairs beautifully with a sesame dipping sauce.
Vegan Chicken‑Free Alternative
Swap the chicken for bite‑sized tofu cubes or seitan. Use a vegan buttermilk alternative and vegan egg replacer. The coating will still crisp up nicely, making it a crowd‑pleasing option for plant‑based diners.
Storing and Bringing It Back to Life
Fridge Storage
Cool the nuggets completely before placing them in an airtight container. Store in the refrigerator for up to 3 days. The coating will remain crisp if you reheat in a toaster oven or skillet rather than a microwave.
Freezer Friendly
Place the cooled nuggets on a parchment‑lined tray and freeze until solid. Transfer to a freezer bag for longer storage. They can stay in the freezer for up to 2 months without losing quality.
Best Reheating Method
Preheat a 375°F oven and spread the nuggets on a baking sheet. Bake for 10 minutes, flipping halfway through. Add a tiny splash of water to the oven before baking to create steam that keeps the coating from drying out.