No‑Sugar Delight Bites: A Guil might sound like a tongue‑twister, but it’s the sweetest thing you’ll taste all week. I was halfway through a marathon baking session when my friend dared me to create a dessert that didn’t require any added sugar and still tasted like a treat. The kitchen was a chaotic swirl of flour, coconut, and the faint scent of vanilla, and I swear the timer started counting down faster than my pulse. The moment I took the first bite, I realized the crunch was like a snowflake hitting a hot skillet—crisp, yet soft, with a subtle cocoa hug that lingered. I dare you to taste this and not go back for seconds; the flavor will have you questioning every sugar‑laden snack you’ve ever loved. If you’ve ever struggled with sugar‑free desserts that taste bland, you’re not alone—and I’ve got the fix. Picture yourself pulling these out of the oven, the whole kitchen smelling incredible, and the anticipation of that first bite humming through the air. Let me walk you through every single step — by the end, you’ll wonder how you ever made it any other way.
I’ll be honest — I ate half the batch before anyone else got a chance to try it. That first bite was the kind of moment that turns a kitchen mishap into a culinary revelation. The texture is a paradox: a buttery bite that gives way to a surprising crunch, like biting into a cloud that’s been baked to a crisp edge. The flavor profile is a harmony of nutty almond, deep cocoa, and a whisper of vanilla that lingers, not overwhelms. Most recipes get this completely wrong. They either end up dense and dry or too sweet and syrupy. The secret? A precise balance of fats, leavening, and natural sweeteners that work together to create a bite that’s both indulgent and guilt‑free. Alright, let’s break down exactly what goes into this masterpiece…
What Makes This Version Stand Out
- Flavor: The cocoa is real, not artificial, giving a deep, chocolatey base that feels indulgent without the sugar spike. The almond flour adds a subtle nutty undertone that complements the cocoa, creating a complex yet balanced taste. The vanilla is a whisper, not a shout, keeping the focus on the primary flavors.
- Texture: The combination of coconut oil and almond flour creates a chewy center that snaps on the outside, a contrast that makes each bite feel like a mini adventure. The walnuts add a satisfying crunch that breaks up the smoothness for a multi‑sensory experience.
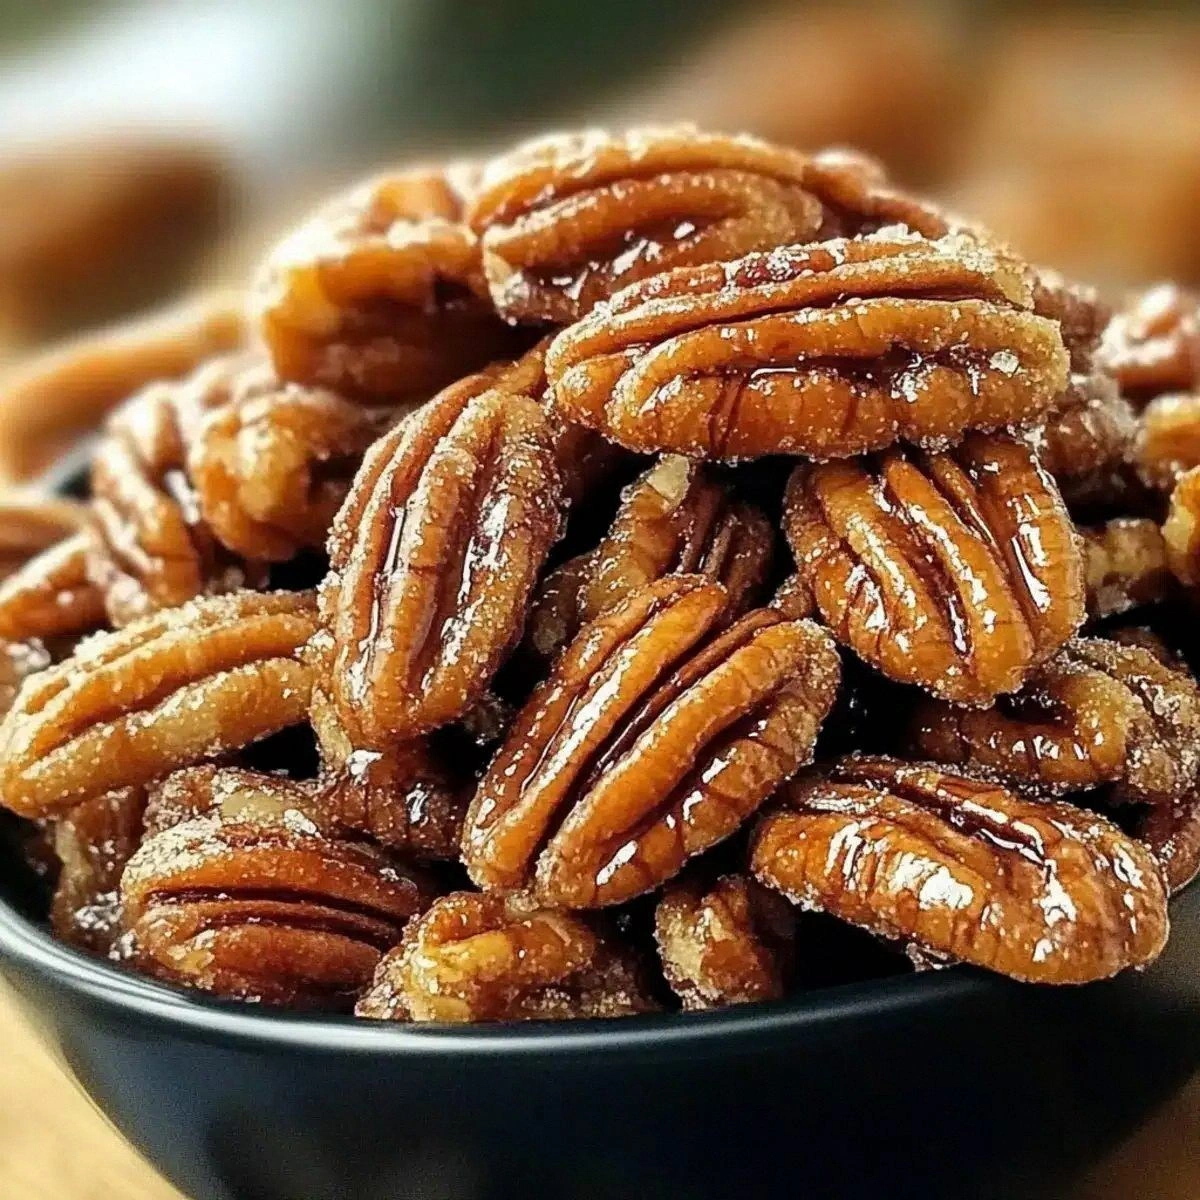
- Health: Zero added sugars and a low glycemic index make these bites perfect for anyone watching their carb intake. The healthy fats from coconut oil and nuts provide satiety and heart‑healthy benefits.
- Simplicity: Only ten ingredients, no specialized equipment, and a straightforward method. Even a novice can achieve a bakery‑quality result with minimal effort.
- Make‑ahead: These bites keep well in the fridge for a week, and freeze for up to two months, making them a reliable go‑to snack for busy days.
- Versatility: The base can be customized with different nuts, seeds, or dried fruits, so you can tailor the flavor profile to your mood or dietary needs.
- Presentation: The golden edges and glossy finish make them visually appealing, perfect for parties, potlucks, or a quick afternoon treat.
- Community Love: Friends and family rave about how they can’t resist a second bite, and the recipe has become a staple in our weekly snack rotation.
Inside the Ingredient List
The Flavor Base
Almond flour is the backbone of these bites, providing a mild nutty flavor that pairs beautifully with the cocoa. It’s also low in carbs and high in protein, making the bites both filling and nutritious. If you can’t find almond flour, you can substitute with oat flour, though the flavor will shift slightly toward a sweeter, grainier note.
Unsweetened shredded coconut adds a tropical whisper that balances the chocolate. It also contributes a subtle chewiness that prevents the bites from becoming too dense. When selecting coconut, go for a medium‑to‑high quality brand that’s freshly shredded; the fresher the coconut, the more aromatic the final product.
Coconut oil is the fat that keeps the bites tender and gives them that buttery mouthfeel. It melts at body temperature, so the bites soften quickly when you bite into them. If you prefer a different fat, you can use clarified butter or a neutral oil, but the flavor profile will change.
The Texture Crew
The walnuts add a satisfying crunch that contrasts the chewy interior. They also bring healthy omega‑3 fatty acids, giving the bites a nutritional boost. If walnuts aren’t your thing, almonds or pecans work just as well, though the flavor will shift toward a slightly sweeter note.
Dried cranberries provide a burst of tartness that cuts through the richness of the coconut and nuts. They also add a natural sweetness without the sugar spike, thanks to their low glycemic index. If you’re allergic to cranberries, dried blueberries or raisins can be swapped in, but remember they have a slightly higher sugar content.
Baking soda and salt are the leavening agents that give the bites a light, airy structure. The soda reacts with the acidic monk fruit sweetener, creating tiny bubbles that make the bites puff just enough to be airy. Salt balances the flavors and brings out the chocolate’s depth.
The Unexpected Star
Monk fruit sweetener is the no‑sugar hero of this recipe. It’s a natural, zero‑calorie sweetener derived from a tropical fruit, and it doesn’t raise blood sugar. Using it keeps the bites sweet enough to satisfy a craving while staying true to the no‑sugar promise.
The vanilla extract adds a subtle aromatic layer that lifts the overall flavor profile. Even a small amount can make a big difference, so don’t skip it. If you’re vegan, you can replace it with a few drops of vanilla bean paste for an even richer scent.
Eggs bind the ingredients together, creating a cohesive structure that holds the bites together during baking. They also add protein and a slight richness that balances the natural sweetness of the monk fruit. If you’re avoiding eggs, a tablespoon of flaxseed meal mixed with three tablespoons of water (set to thicken for 5 minutes) can act as a substitute.
The Final Flourish
The final touch is the careful timing of the bake. Too long, and the bites become dry; too short, and they’re gummy. The goal is a golden crust with a slightly soft center that holds together when you pick it up. This is where the balance of fats, leavening, and natural sweetener truly shines.
Everything's prepped? Good. Let's get into the real action...

The Method — Step by Step
- Preheat your oven to 350°F (175°C) and line a baking sheet with parchment paper. The parchment prevents sticking and gives the bites a clean release. This is the moment of truth for the oven’s temperature—if it’s too hot, the edges will burn before the center bakes. If it’s too cool, you’ll end up with a dense, gummy texture that’s hard to bite through.
- In a large bowl, combine the almond flour, shredded coconut, baking soda, and salt. Whisk them together until the mixture is evenly mixed. The dry ingredients should feel like a fine, slightly gritty powder. This step ensures that the leavening agent is distributed evenly, preventing pockets of under‑baked dough.
- In a separate saucepan, melt the coconut oil over low heat. Add the monk fruit sweetener and vanilla extract, stirring until the sweetener dissolves completely. The mixture should look glossy and silky, not chunky. This wet mixture is the glue that binds the dry ingredients into a cohesive dough.
- Pour the wet mixture into the dry mixture and stir with a spatula until a sticky dough forms. Don’t overmix; a little stickiness is fine. The dough should feel like a thick batter that clumps together when you press it. At this point, the aroma of vanilla and coconut oil should fill the kitchen, hinting at the deliciousness to come.
- Fold in the chopped walnuts and dried cranberries. Make sure they’re evenly distributed throughout the dough. This step adds crunch and flavor contrast. Watch out: if you add too many cranberries, the dough can become overly moist and sticky, making it hard to shape.
- Using a cookie scoop or a tablespoon, drop dough onto the prepared baking sheet, spacing them about 2 inches apart. The dough will spread slightly, so keep the spacing generous. This step is critical for achieving the perfect bite size and ensuring they bake evenly.
- Bake for 12-15 minutes, or until the edges turn golden brown and a toothpick inserted into the center comes out with a few crumbs. The baking time can vary depending on your oven, so keep a close eye on them. If the edges brown too quickly, lower the oven temperature by 25°F.
- Remove the baking sheet from the oven and let the bites cool for 5 minutes before transferring them to a wire rack to cool completely. This cooling period allows the structure to set, preventing them from breaking apart when you pick them up. The aroma will still be strong, making the anticipation even sweeter.
- Once cooled, store the bites in an airtight container in the fridge for up to a week. For longer storage, freeze them for up to two months. When you’re ready to eat, let them sit at room temperature for 10 minutes to soften slightly, making them easier to bite.
That's it — you did it. But hold on, I've got a few more tricks that'll take this to another level. These small tweaks will elevate the flavor, texture, and overall experience of your No‑Sugar Delight Bites.
Insider Tricks for Flawless Results
The Temperature Rule Nobody Follows
Many bakers think room‑temperature ingredients are always best, but for these bites, slightly chilled coconut oil gives a firmer dough that holds shape better. Chill the oil for 15 minutes before melting, and you’ll notice the dough doesn’t spread as much, giving you a cleaner edge.
Why Your Nose Knows Best
Before baking, give the dough a quick sniff. If the aroma is overwhelmingly coconut, it’s too wet; let it rest for a few minutes to allow excess moisture to evaporate. This simple sensory check saves you from soggy, under‑baked bites.
The 5‑Minute Rest That Changes Everything
After mixing the dough, cover it and let it rest for 5 minutes. This resting period allows the almond flour to hydrate fully, resulting in a more cohesive texture that doesn’t crumble when you bite.
Using a Silicone Baking Mat
A silicone mat offers an even heat distribution that parchment sometimes struggles with. It also makes cleanup a breeze, as the bites don’t stick to the surface. The result is a flawless finish every time.
Cooling on a Wire Rack
Cooling on a wire rack allows air to circulate around the bites, preventing condensation from making them soggy. This trick is especially useful if you’re baking a large batch that will sit in the oven for a while.
Reheating for Freshness
If you’re reheating frozen bites, add a splash of water to the container before microwaving. This steams the bites, restoring moisture and preventing them from drying out. The result is a bite that feels freshly baked.
Creative Twists and Variations
Nutty Espresso Bites
Swap the walnuts for chopped hazelnuts and add a teaspoon of instant espresso powder to the dry mix. The espresso deepens the chocolate flavor, giving the bites a sophisticated coffee kick that pairs perfectly with a cup of tea.
Minty Chocolate Bites
Add a tablespoon of peppermint extract to the wet mixture and sprinkle a few crushed peppermint candies on top before baking. The mint provides a refreshing contrast to the chocolate, making these bites a perfect dessert after a heavy meal.
Spiced Coconut Bites
Introduce a pinch of ground cinnamon and a dash of nutmeg to the dry ingredients. The warm spices give the bites a holiday feel, even in the middle of summer. These are great for holiday parties or a cozy night in.
Berry Burst Bites
Replace the dried cranberries with dried blueberries and add a tablespoon of almond butter to the wet mix. The blueberries add a tart sweetness, while the almond butter enriches the flavor and adds a silky texture.
Chocolate Chip Bites
Stir in a handful of sugar‑free chocolate chips before baking. The chips melt slightly, creating pockets of chocolatey goo that make each bite a surprise. These are perfect for kids who love chocolate but need a healthier option.
Almond Joy Bites
Add shredded coconut to the dry mix and sprinkle toasted coconut on top before baking. The extra coconut gives the bites a chewy, tropical texture reminiscent of the classic candy, while the almond flavor stays front and center.
Storing and Bringing It Back to Life
Fridge Storage
Place the cooled bites in an airtight container and store them in the fridge for up to one week. The airtight seal prevents moisture loss, keeping the bites firm and fresh. When ready to eat, let them sit at room temperature for 5 minutes to soften slightly.
Freezer Friendly
For longer storage, freeze the bites on a parchment‑lined tray for 30 minutes, then transfer them to a freezer bag. This method prevents them from sticking together. They’ll stay fresh for up to two months when properly sealed.
Best Reheating Method
To reheat frozen bites, place them in a single layer on a microwave‑safe plate, sprinkle a tiny splash of water, and heat on medium for 30–45 seconds. The water creates steam, restoring the moist interior while the microwave warms them quickly. Avoid over‑cooking, or the bites will become rubbery.