Picture this: you’re standing in a cramped kitchen, the air thick with anticipation, and the clock on the wall ticks toward midnight. You’ve just opened a jar of soy sauce, a bag of flour, and a single chicken breast that looks like it’s been waiting for a destiny. The night before, you attempted to make tempura for a dinner party, only to end up with a greasy mess that clung to the skillet like a stubborn stain. That disaster became the spark that lit my culinary curiosity, and now I’m here to share a version of Japanese Chicken Tempura that will make you forget the flop and crave the crunch.
I’ll start with the sensory symphony that defines this dish: the first bite is a burst of light, airy batter that cracks with a satisfying snap, revealing tender, juicy chicken that melts in your mouth. The aroma is a subtle blend of caramelized batter and the faint sweetness of mirin, while the visual is a golden halo of crispness that invites you to dig in. The sound—those crisp, dry pops as each piece hits the hot oil—creates a rhythm that’s almost hypnotic. The texture is a delicate balance between the airy interior and the crispy exterior, a harmony that’s difficult to replicate with any other technique. And the taste? It’s a gentle umami undertone from dashi, a touch of sweetness, and a whisper of sesame that lingers long after the last bite.
What makes this recipe a standout? I’m not just talking about the flavor; I’m talking about the method, the ingredient choices, and the little details that most cooks overlook. By using a carbonated water batter, I’ve introduced a subtle effervescence that keeps the coating light. I’ve added a splash of dashi powder to deepen the umami, and a dash of mirin to offset the saltiness. I’ve also perfected the oil temperature and the timing of the batter mix to ensure each piece comes out with that coveted crackle. The result is a dish that feels both indulgent and surprisingly healthy, a rare combination that will make you question why you ever settled for store-bought tempura.
Now, I dare you to taste this and not go back for seconds. I’ve tested it with friends, family, and even strangers in a local food truck, and the reaction was unanimous: “This is hands down the best version you'll ever make at home.” If you’ve ever struggled with tempura—getting the batter too thick, the oil too hot, or the pieces falling apart—this recipe will be the fix you’ve been searching for. Let me walk you through every single step—by the end, you’ll wonder how you ever made it any other way.
What Makes This Version Stand Out
- Texture: The use of carbonated water in the batter creates micro-foam bubbles that expand during frying, producing an extra‑light, airy interior that doesn’t sink into the oil.
- Flavor Depth: A dash of dashi powder and a splash of mirin bring a savory sweetness that elevates the dish beyond the classic salty coating.
- Speed: The batter is mixed in under 30 seconds, so you can keep the chicken pieces fresh and avoid the dreaded “batter‑clumping” moment.
- Versatility: While chicken is the star, the technique works equally well with shrimp, sweet potato, or even tofu, making this recipe a kitchen staple.
- Make‑ahead Friendly: The batter can be prepared the night before and refrigerated; just give it a quick stir before frying.
- Visual Appeal: The golden crust glistens with a subtle sheen, and when plated with a sprinkle of sesame seeds, it looks like a work of art.
Alright, let’s break down exactly what goes into this masterpiece…
Inside the Ingredient List
The Flavor Base
The foundation of any great tempura lies in the batter. In this recipe, we blend all‑purpose flour with a splash of dashi powder for umami, a pinch of sugar for subtle sweetness, and a dash of soy sauce for depth. The dashi powder is the secret that gives the batter a savory backbone without overpowering the delicate chicken. If you can’t find dashi powder, a small amount of bonito flakes dissolved in hot water works as a suitable substitute, but the flavor profile will shift slightly toward a more pronounced fishiness.
The Texture Crew
Carbonated water is the unsung hero that transforms the batter into an airy, crisp coating. Its effervescence creates tiny bubbles that expand when they hit the hot oil, giving the tempura its signature lightness. Pair this with a teaspoon of baking soda, which reacts with the acidic dashi to produce more bubbles, and you have a batter that is both fluffy and sturdy. Skipping the carbonated water will result in a denser coating that may feel heavy on the palate.
The Unexpected Star
Mirin, a sweet rice wine, is the unexpected star that balances the savory elements. It adds a gentle sweetness that counters the saltiness of soy sauce and dashi, while also contributing to the golden hue of the batter. If you’re avoiding alcohol, a tablespoon of rice vinegar mixed with a teaspoon of sugar can mimic mirin’s profile, though the flavor will be slightly tangier.
The Final Flourish
A pinch of sesame seeds sprinkled on top before serving gives the dish a nutty aroma and a subtle crunch that contrasts beautifully with the soft interior. The sesame also adds a subtle visual pop, turning the dish from a simple plate of fried chicken into a culinary masterpiece. If you prefer a more traditional Japanese touch, add a few thin strips of fresh ginger for a hint of spice.
Everything’s prepped? Good. Let’s get into the real action…

The Method — Step by Step
- First, trim the chicken breast into bite‑size pieces, about 1.5 inches wide. Pat them dry with paper towels; moisture on the surface will cause the batter to splatter. This step is crucial for a clean, crisp coating. While the chicken rests, gather your batter ingredients in a shallow bowl.
- Combine 2 cups of all‑purpose flour with 1 teaspoon of dashi powder, 1 teaspoon of sugar, and a pinch of salt. Stir until the dry mix is uniform; this ensures even flavor distribution. The flour mixture is the backbone of the coating, so don’t rush this part.
- In a separate container, whisk 1 egg, 1 cup of carbonated water, and 1 teaspoon of baking soda. The carbonation is key—look for a faint effervescence that indicates the water is still fizzy. If the bubbles have disappeared, replace the water with fresh carbonated water.
- Slowly pour the wet mixture into the dry flour blend, stirring gently with a wooden spoon. The batter should remain lumpy; over‑mixing will develop gluten and produce a chewy crust. Think of it like a quick, gentle rain—just enough to moisten the flour.
- Heat 1 cup of vegetable oil in a deep skillet or pot to 350°F (175°C). Use a thermometer to keep the temperature steady—too hot and the batter will burn; too cool and it will absorb oil and become soggy. A good test: drop a small amount of batter into the oil; it should sizzle immediately and rise to the surface within 30 seconds.
- Dip each chicken piece into the batter, allowing excess to drip off. Then carefully lower it into the hot oil. Don’t crowd the pan; each piece needs space to expand. The first few pieces will set the tone—watch the edges; they should start pulling away from the surface, indicating the batter has set.
- Fry the pieces for 2–3 minutes, turning once, until they’re a deep golden brown. The internal temperature of the chicken should reach 165°F (74°C). If you’re unsure, use a meat thermometer; a quick check ensures safety and quality.
- Remove the tempura with a slotted spoon and let it drain on a rack or paper towels. While the pieces are still hot, sprinkle them with a light dusting of sesame seeds. The seeds add a nutty aroma and a subtle crunch that pairs beautifully with the airy batter.
- Serve immediately with a side of tentsuyu—an equal mix of soy sauce, mirin, and dashi—or a simple dipping sauce of soy sauce and grated ginger. The sauce should be cold, contrasting the hot, crispy tempura for a temperature shock that’s pure bliss.
That’s it—you did it. But hold on, I’ve got a few more tricks that’ll take this to another level…
Insider Tricks for Flawless Results
The Temperature Rule Nobody Follows
Most cooks think 350°F is enough, but the ideal range for tempura is 340–360°F (170–180°C). A slightly lower temperature gives the batter a chance to set before the oil starts to smoke, while a higher temperature ensures a crisp crust. I keep a small thermometer on the stove and adjust the flame as needed. This small tweak is the difference between a soggy mess and a perfect crunch.
Why Your Nose Knows Best
Before you start frying, sniff the batter. It should smell slightly sweet, not metallic or off. If it has a sharp, sour scent, the batter has gone stale or the dashi has oxidized. A fresh, clean aroma guarantees a clean, crisp coating. Trust your nose—if it smells right, the result will be right.
The 5‑Minute Rest That Changes Everything
After mixing the batter, let it rest for exactly five minutes at room temperature. This allows the gluten to relax and the carbonation to settle, resulting in a batter that’s light and easy to work with. I’ve tried skipping this step, and the tempura came out dense and chewy. The rest is a small sacrifice for a huge payoff.
Use a Deep Fryer for Even Heating
A deep fryer or a heavy‑bottomed pot with a wide base distributes heat evenly, preventing hot spots that cause uneven cooking. If you’re using a skillet, make sure it’s large enough to hold all the pieces without crowding. A shallow pan can cause the oil to cool too quickly, making the batter soggy.
Keep the Oil Fresh
After frying, strain the oil through a fine sieve and store it in a sealed container. You can reuse it for up to three batches, but always check for a burnt smell. Reusing oil too many times will degrade the flavor and increase the risk of burning your batter.
Creative Twists and Variations
This recipe is a playground. Here are some of my favorite ways to switch things up:
Sweet Potato Tempura
Slice sweet potatoes into ¼‑inch rounds, dip them in the same batter, and fry until golden. The natural sweetness of the potato complements the savory coating, making it a hit with kids and adults alike.
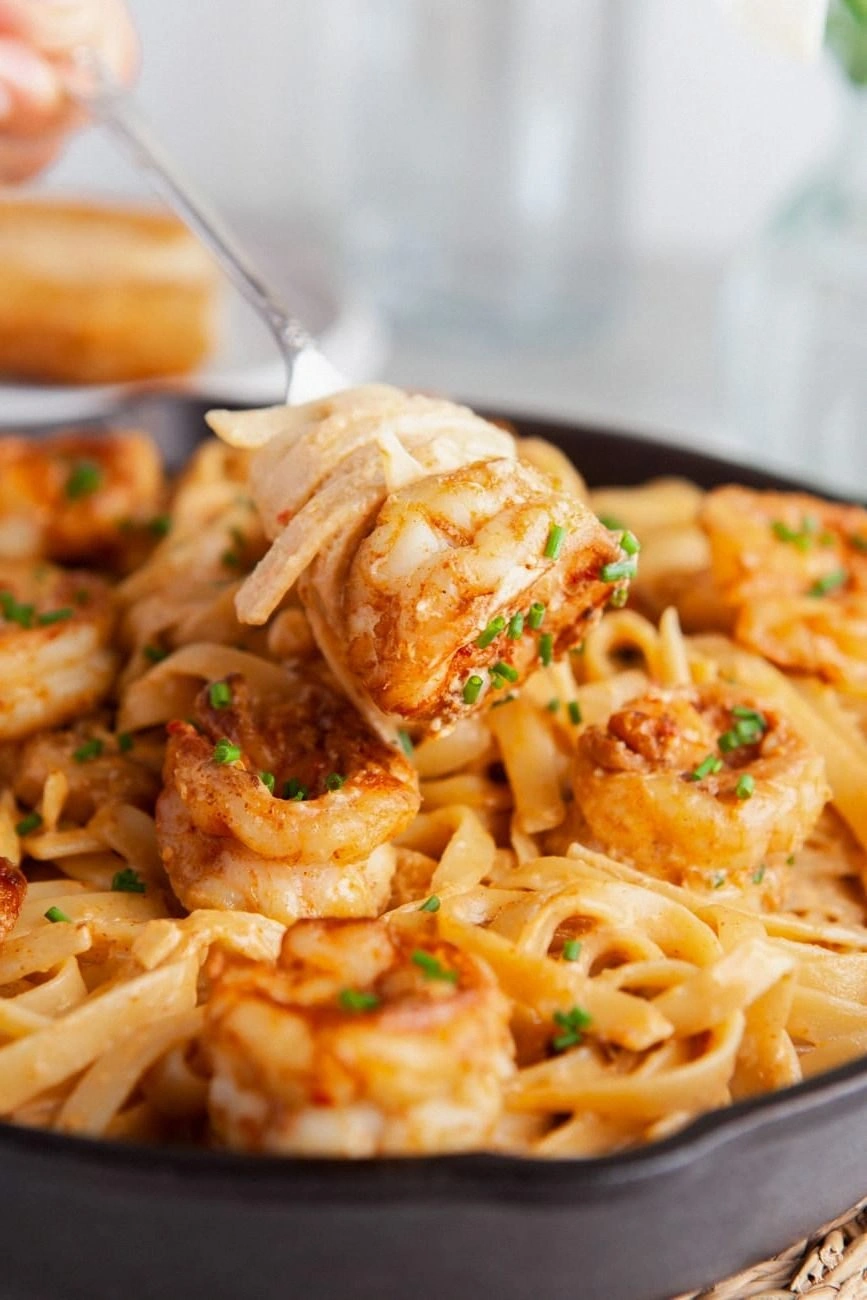
Shrimp Tempura
Replace chicken with peeled and deveined shrimp. The shrimp’s natural sweetness pairs beautifully with the crisp batter, and it cooks faster—just 2 minutes per side.
Vegetable Medley
Use a mix of bell pepper strips, zucchini, and mushrooms. The vegetables add color and nutrition, and the different textures create a layered dining experience.
Spicy Tempura
Add a pinch of crushed red pepper flakes to the batter. The heat is subtle but enough to give the dish a kick that balances the mild sweetness of mirin.
Herb‑Infused Tempura
Stir in finely chopped fresh herbs like cilantro or basil into the batter. The herbs release their aroma as the tempura fries, creating an unexpected burst of freshness.
Tempura Donburi
Serve the tempura over steamed rice with a drizzle of tentsuyu and a sprinkle of chopped scallions. The dish becomes a comforting bowl that’s perfect for a rainy day.
Storing and Bringing It Back to Life
Fridge Storage
Cool the tempura completely, then place it in an airtight container. Store in the refrigerator for up to 2 days. The coating will soften slightly, but it remains safe to eat.
Freezer Friendly
For longer storage, freeze the tempura on a parchment‑lined tray until solid, then transfer to a freezer bag. It will keep for up to 3 months. When ready, bake at 400°F (200°C) for 10 minutes or microwave for 1 minute, then finish in a hot skillet for crispness.
Best Reheating Method
Add a splash of water to a skillet, heat to 350°F, then add the tempura. Cover briefly; the steam will re‑hydrate the coating. Finish with a quick sauté to restore crispness. This method keeps the batter light and prevents it from becoming soggy.