I still remember the night my kitchen turned into a culinary battlefield. I had a craving for something sweet, something that could double as a party showstopper, and I thought, “Why not cheesecake in an egg roll?” The moment those wrappers hit the skillet, the air filled with a buttery, almost caramelized aroma that made my eyes water. The first bite was a paradox: the crisp exterior gave way to a creamy, vanilla‑laden filling that melted like a soft snowdrift on my tongue. Most people think of cheesecake as a decadent, heavy dessert, but this version is light, airy, and surprisingly portable. I dare you to taste this and not go back for seconds—trust me, you’ll want the next one before the first even finishes.
Picture yourself pulling a golden, perfectly crisp roll from the pan, the steam curling around your fingers like a delicate cloud. The edges crackle softly as you slide it onto a plate, and the first bite releases that unmistakable sweet‑savory burst that feels like a hug from a dessert-loving grandma. I’ve spent countless hours experimenting with textures and flavors, and this recipe is the culmination of that obsession—an edible marvel that balances indulgence with subtlety. Most recipes get this completely wrong, but here’s what actually works: the right ratio of cream cheese to oil, a touch of vanilla, and the secret timing that keeps the filling silky while the wrapper stays crispy. If you’ve ever struggled with making a dessert that’s both impressive and easy, you’re not alone—and I’ve got the fix. This is hands down the best version you’ll ever make at home.
The next step is a game‑changer: using neutral oil at a high temperature to create a blistered, crunchy shell that still holds the creamy center. I’ve learned that the oil’s temperature is the secret to achieving that golden, almost caramelized crust without burning the wrapper. The filling itself is a simple yet divine combination of cream cheese, sugar, and vanilla that coats the inside like velvet, turning every bite into a luxurious experience. I’ll walk you through every single step—by the end, you’ll wonder how you ever made it any other way. Ready to roll? Let’s dive in.
What Makes This Version Stand Out
- Texture: The crispy wrapper shatters like thin ice, revealing a silky, melt‑in‑your‑mouth filling that feels like a cloud of vanilla cream.
- Flavor: A subtle sweetness from the sugar is balanced by the tang of cream cheese, while vanilla adds a fragrant depth that lingers on the palate.
- Ease: No elaborate sauces or complex steps—just a handful of ingredients and a few simple techniques that even a novice can master.
- Make‑ahead: The filling can be prepped a day ahead, and the wrappers can be assembled and frozen, making it a stress‑free option for last‑minute gatherings.
- Show‑stopper: The golden, glossy finish and the way the rolls puff up in the pan are guaranteed conversation starters.
- Ingredient Quality: Using a high‑fat cream cheese gives the filling a velvety richness that’s hard to replicate with lower‑fat alternatives.
- Versatility: Swap in a drizzle of caramel or a sprinkle of sea salt to instantly transform the flavor profile for any occasion.
- Speed: From prep to plate, the entire process takes less than an hour—perfect for when time is of the essence.
Alright, let’s break down exactly what goes into this masterpiece…
Inside the Ingredient List
The Flavor Base
At the heart of this dish lies the cream cheese, the star that delivers both richness and structure. Cream cheese’s high fat content creates a silky texture that doesn’t separate when heated, and its mild tang balances the sweetness. If you’re tempted to use a lower‑fat version, the result will be noticeably drier and less luscious. For those who prefer a dairy‑free option, a thick coconut cream can mimic the creaminess, but be sure to choose a brand with no added sugar to keep the flavor profile intact. The 1/4 cup of granulated sugar sweetens the filling without overpowering the natural creaminess, and the 1 teaspoon of vanilla extract adds a fragrant, almost floral note that elevates the entire dish.
The Texture Crew
The 12 egg roll wrappers are the canvas for this masterpiece. They’re thin, pliable, and designed to crisp up beautifully when fried. Don’t skimp on the quality—look for wrappers that are fresh and pliable, as older wrappers can tear or become gummy. The 3 cups of neutral oil (such as canola or grapeseed) are crucial for achieving that golden, blistered crust. Oil with a high smoke point ensures the wrappers fry evenly without burning. The 2 tablespoons of water are a small but mighty addition; they help keep the wrapper edges moist during assembly, preventing them from drying out and cracking.
The Unexpected Star
The water, though only a few tablespoons, plays a pivotal role in the folding process. By lightly dampening the wrapper edges, it creates a seal that holds the filling in place and ensures a crisp bite. Some cooks skip this step, leading to soggy wrappers or fillings that leak. The water’s subtle moisture also helps the wrappers expand slightly, giving each roll a fuller, more impressive appearance. A quick test: dip a small corner of the wrapper in water—if it stays pliable and doesn’t dry out, you’re ready to roll.
The Final Flourish
The finishing touch is the careful timing of the frying. The oil must be at the right temperature—around 350°F (175°C)—to ensure the wrappers puff up and brown evenly. If the oil is too hot, the wrappers will burn on the outside before the inside cooks; too cool, and they’ll absorb excess oil, becoming greasy. A simple way to check the temperature is to drop a small piece of wrapper into the oil; if it sizzles and rises to the surface within a few seconds, you’re good. Once the wrappers are golden, let them rest on a paper towel for a minute to drain any excess oil, then serve immediately for the best crunch.
Everything’s prepped? Good. Let’s get into the real action…
The Method — Step by Step
- Begin by mixing the cream cheese, granulated sugar, and vanilla extract in a medium bowl until the mixture is smooth and creamy. The goal is to eliminate any lumps; use a handheld mixer on low speed for about two minutes. This ensures that when heated, the filling stays silky and doesn’t separate. Keep this mixture in the refrigerator until you’re ready to assemble the rolls.
- Lay out a clean, flat surface and place an egg roll wrapper on it. Lightly brush the edges with water using a pastry brush or a damp cloth. This step is crucial—dry edges will crack when you fold, ruining the appearance and texture of the roll.
- Spoon a generous amount of the cream cheese filling onto the center of the wrapper, leaving about a 1‑inch border all around. The filling should be thick enough to hold its shape but not so heavy that the wrapper can’t seal. A good rule of thumb is to use about 2 tablespoons per roll.
- Fold the bottom corner of the wrapper over the filling, tucking it in snugly. Then fold the sides in toward the center and roll tightly toward the top corner, sealing the edge with a dab of water. Repeat this process for all 12 wrappers. The result should be a uniform, sealed roll that’s easy to fry.
- Heat the neutral oil in a deep skillet or a wok over medium‑high heat. Test the temperature by dropping a small piece of wrapper; if it sizzles and rises to the surface in about 30 seconds, the oil is ready. The oil should maintain a steady temperature—if it starts to smoke, reduce the heat slightly.
- Carefully place the rolls in the hot oil, a few at a time to avoid overcrowding. Fry each roll for 3–4 minutes, turning occasionally, until the exterior turns a beautiful golden brown and the filling is warmed through. The edges will begin to puff and crackle, creating a delightful crunch.
- Once cooked, remove the rolls with a slotted spoon and place them on a paper towel‑lined plate to drain excess oil. Let them rest for a minute; this allows the steam to escape and the filling to set slightly, preventing a soggy center.
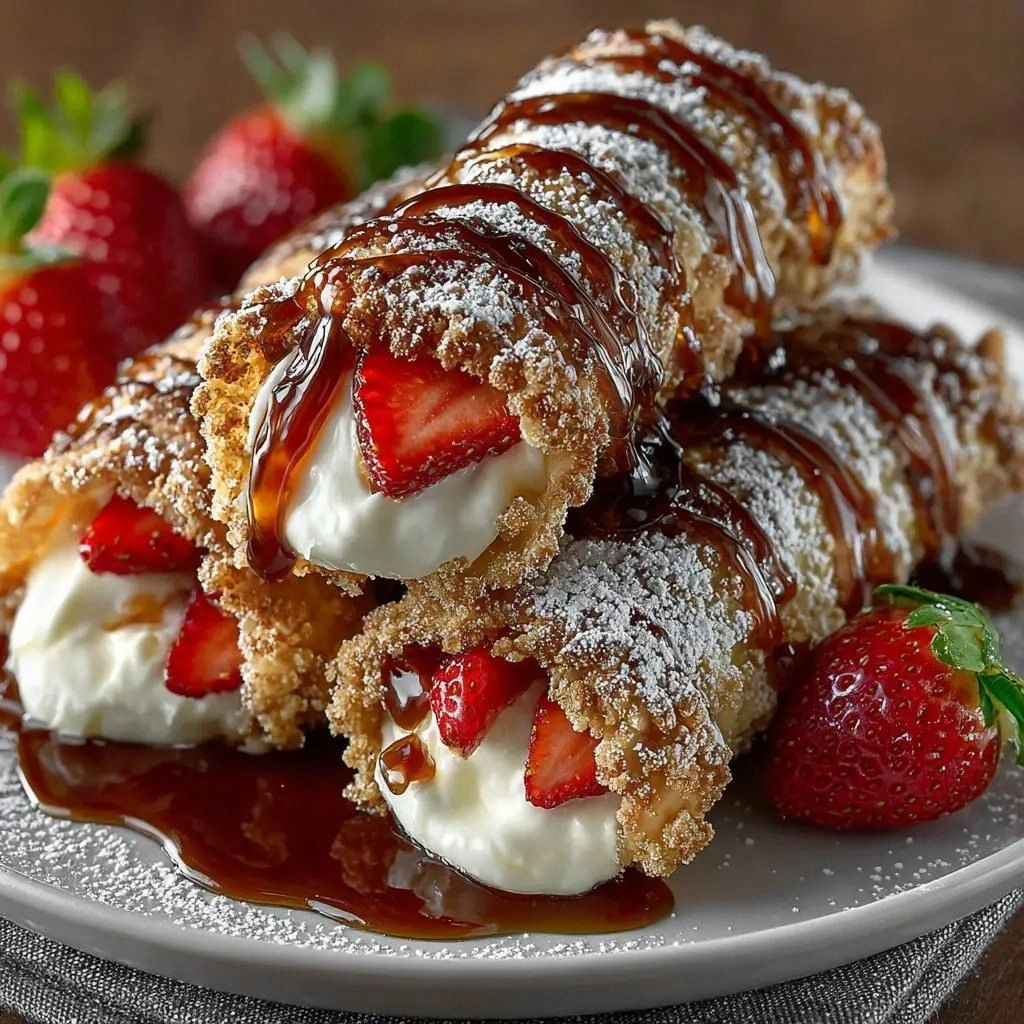
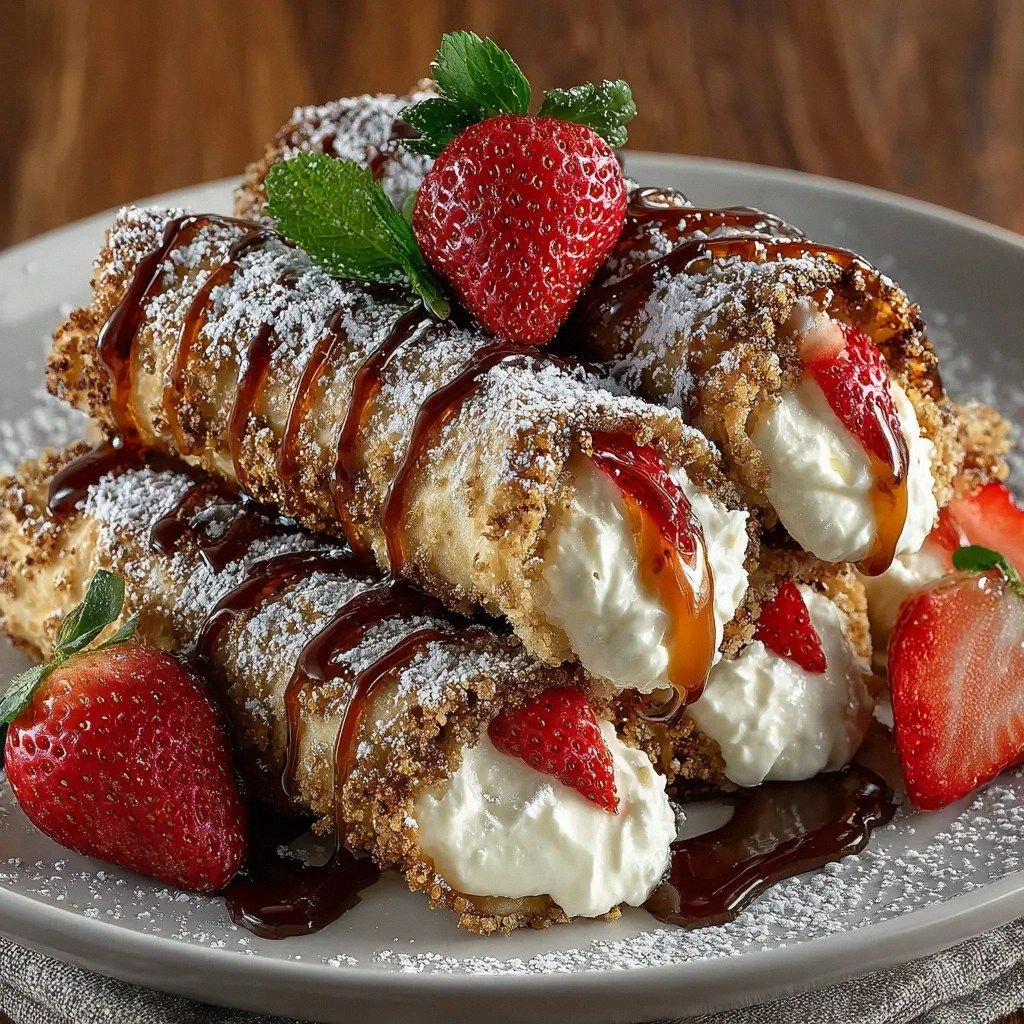
- Serve immediately while the wrappers are still hot and crisp. For an extra touch, dust the rolls with powdered sugar or drizzle a simple glaze of honey and lemon zest. The combination of the warm, gooey filling and the crunchy exterior creates a sensory experience that’s both comforting and exciting.
That’s it—you did it. But hold on, I’ve got a few more tricks that’ll take this to another level…
Insider Tricks for Flawless Results
The Temperature Rule Nobody Follows
Many cooks think any oil will do, but the secret lies in using an oil with a high smoke point—canola, grapeseed, or peanut oil are perfect. The oil should be around 350°F (175°C); too hot and the wrappers will char, too cool and they’ll soak up oil. A quick way to test the temperature is to drop a single corner of a wrapper into the oil; if it sizzles immediately and rises to the surface in under 30 seconds, the oil is ready. Keep a thermometer handy if you’re frying often; it’s a small investment that guarantees consistent results.
Why Your Nose Knows Best
When you first fry the rolls, the aroma will change from neutral to a sweet, buttery scent within seconds. That scent is your cue that the wrappers are crisping up properly. If the smell is more oily or burnt, lower the heat. If it’s too mild, increase the heat slightly. Your nose is a reliable indicator of the oil’s temperature and the overall quality of the final product.
The 5‑Minute Rest That Changes Everything
After frying, let the rolls rest on paper towels for exactly five minutes. This short rest allows the steam to escape, preventing a soggy center, and lets the filling set just enough to hold its shape when you bite. If you rush and serve immediately, the filling may be too runny, causing the wrapper to break. A quick five‑minute rest is the difference between a perfect bite and a disappointing one.
The Quick Chill for Make‑Ahead
If you’re preparing these for a party, you can assemble the rolls, freeze them on a parchment‑lined tray, and then fry them straight from the freezer. The filling will stay solid, and the wrappers will still crisp up nicely. Just add a minute or two to the frying time. This technique saves time on the day of the event and keeps the rolls fresh until the last bite.
The Water Trick for Seamless Sealing
When sealing the wrapper, a light mist of water on the edge creates a seal that holds the filling in place and prevents the wrapper from cracking when you flip the roll. The trick is to use just enough water to keep the wrapper pliable but not so much that it becomes soggy. A quick dab with a pastry brush works perfectly.
Creative Twists and Variations
This recipe is a playground. Here are some of my favorite ways to switch things up:
Coconut‑Cream Surprise
Swap the cream cheese for a thick coconut cream and add a splash of lime juice for a tropical twist. The coconut’s natural sweetness pairs beautifully with the crisp wrapper, creating a dessert that feels like a beach vacation.
Chocolate‑Laced Delight
Fold in a few tablespoons of melted dark chocolate into the filling before rolling. The chocolate adds depth and a bittersweet note that contrasts with the creamy base. Finish with a dusting of cocoa powder for an elegant look.
Savory Spin
Add finely chopped herbs like chives or dill to the filling and replace the sugar with a pinch of sea salt. This savory version is a surprising appetizer that pairs well with a crisp white wine.
Berry Burst
Stir fresh raspberries or blueberries into the filling for a burst of color and tartness. The berries soften slightly during frying, creating a jam‑like texture that complements the creamy center.
Caramel‑Glazed Finish
Drizzle a simple caramel glaze over the hot rolls just before serving. The caramel coats the crispy exterior, adding a glossy sheen and a sweet, buttery finish that elevates the dessert.
Storing and Bringing It Back to Life
Fridge Storage
Cool the finished rolls completely, then wrap them tightly in plastic wrap and store in an airtight container in the refrigerator for up to 48 hours. The wrappers will stay crisp for a day, but the filling may soften slightly. Reheat in a toaster oven at 350°F for 5 minutes to revive the crunch.
Freezer Friendly
For longer storage, freeze the assembled rolls before frying. Place them on a parchment‑lined tray and freeze until solid, then transfer to a freezer bag. When ready to serve, fry them directly from the freezer, adding an extra minute or two to the cooking time. The filling remains firm, and the wrappers crisp up beautifully.
Best Reheating Method
To reheat leftover rolls, place them on a baking sheet and warm them in a 375°F oven for 8–10 minutes. If you prefer a crispier exterior, finish them in a skillet for 1–2 minutes on each side. Adding a tiny splash of water before reheating helps steam the filling back to perfection, preventing it from drying out.